Sewing Curves

by Peg Green

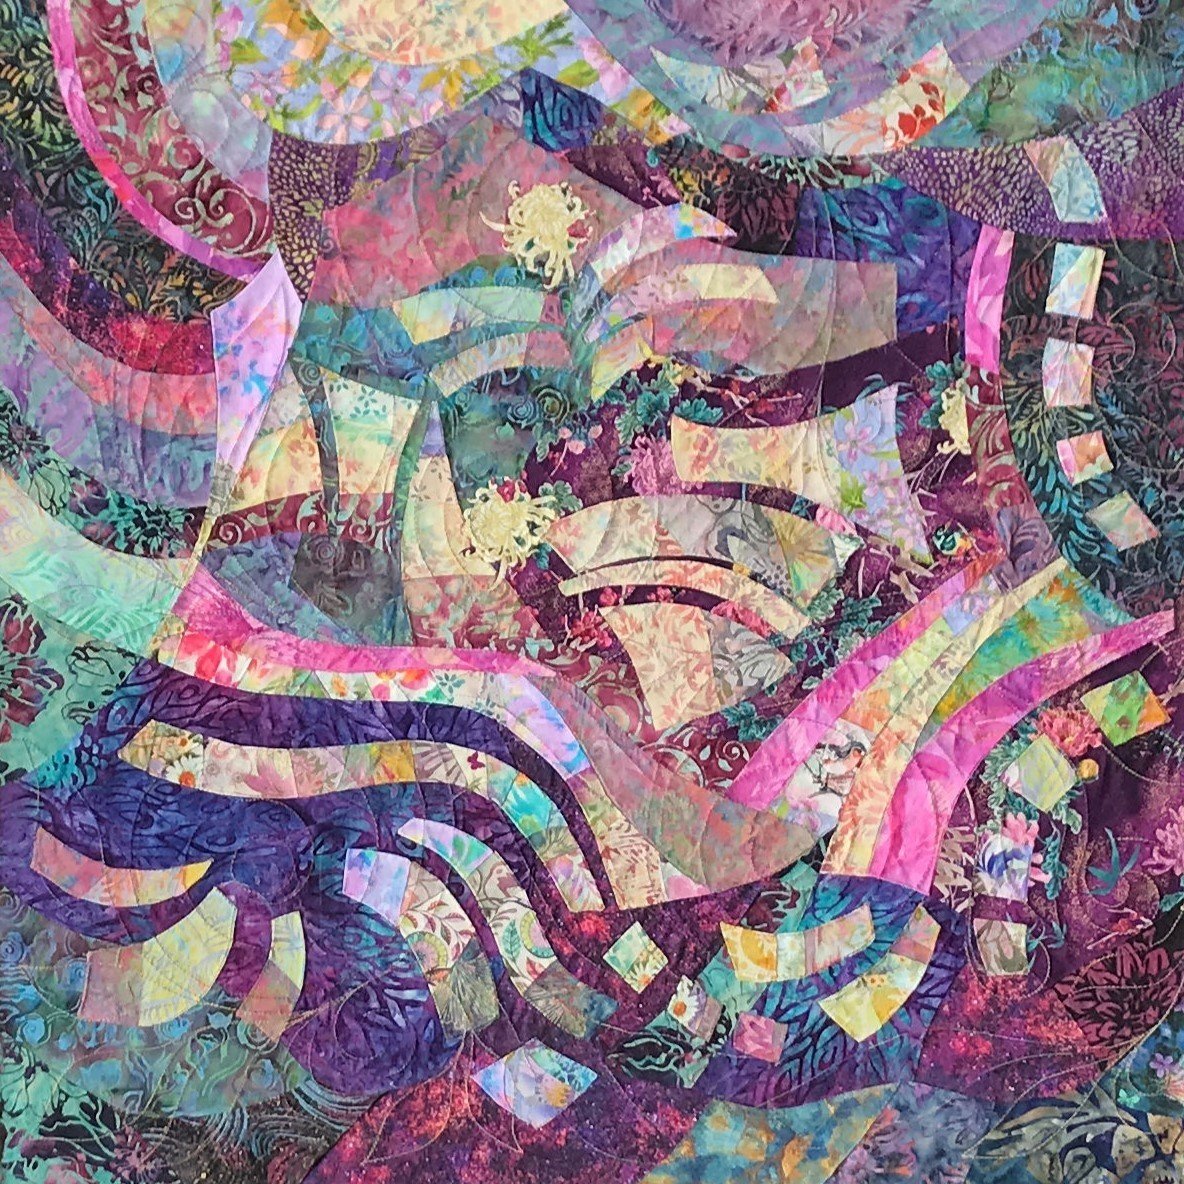
Thirty years ago, when I asked my local quilt shop instructors how to sew curves, they told me it couldn’t be done. So of course I had to try to figure it out for myself. Today I want to share with you the technique I invented. Apparently, lots of other quilters have had the same wish to sew curves, and they’ve tried their own experiments, so nowadays there are plenty of classes and online videos on how to piece curves. This is how I do it.

My piecing techniques work exactly the same whether you’re playing around with fabric scraps or following a precise sketch with defined shapes. I do both, but for this blog demo I’ll be doing intuitive design.
I’ll start by finding a curve in the pattern of the fabric – here, I like these 2 purple flowers, so I cut a curve to encompass them.

Then I’ve found a nice matching curve through the butterflies in this red fabric. So here’s the placement of the 2 fabrics together.

To sew the two pieces along the curve, I start by turning over the curved edge of my first fabric and ironing it down. I’m not exact about it – about a quarter inch. Too narrow and your fabric will fray when you sew it, too wide and it will pinch and buckle.

Then I might cut a tiny snip into areas where the curve is deep. A gentle curve won’t need it, but a sharp curve  will. If it fights against the iron when you’re turning the edge, it needs some snips.

I lay the ironed edge of the first fabric onto the second fabric and then I tape it down. I use freezer tape. I find that blue painter’s tape doesn’t hold, scotch tape will burn when I iron it in the next step, and masking tape has too strong a glue that will leave marks on the fabric.

Then, on the back-side of the fabric, I mark the ironed edge, right up along the crease. This will help guide my sewing. I use an ordinary pencil for light fabrics or a white colored pencil for dark fabrics. (This step can be omitted.)

I cut away the second fabric to match the seam allowance of the first fabric.

Then I flip the fabrics over to the back side  and iron the seam open. The freezer tape (on the front side)  will hold them in place.

I draw a marking line along  the seam on the second fabric, too, along the crease where I’ve ironed. (Again, not absolutely necessary, and I often don’t bother.)

Finally, I sew the seam, just outside the marked line. (Or if you haven’t pencil-marked the seams, just outside the ironed edge.) Don’t sew directly on the marked line, as that will often catch the freezer tape into the seam and then you’ll have to pick it out, which is tiresome and messy. If the curves are deep, you’ll need to feed it gently through and manipulate it as you sew.

Remove the tape and ta-daah. A nice, flat, smooth  pieced curve. (The tape is re-useable.)

The last step is to iron the seam to one side. Don’t iron it open, or it will be more likely to fray.

Seeing it all laid out step-by-step makes it look like  a lot more work and trouble than it feels like while I’m doing it, but I’ve had a lot of practice. So, please take from this demo whatever techniques work for you.

My experience is that piecing curves has taught me patience and acceptance. It has required me to allow the fabric to be in charge. The fabric will try to go back to being uncurved – it will shift and loosen and do its own thing, or it will fight you. Adjusting to what the fabric insists on doing has often meant changing my design. It’s taught me to work with fabric as a friend and partner in creation instead of a medium or tool. I’ve become more intuitive in my art process, and more flexible. Some of this learning has even seeped into the rest of my life.

Previous
Previous

Following the Fabric

Next
Next

Small work over Large work